
I tripled her recipe because I needed a dessert to take to my mom's tonight, and I also thought I could bring some to church tomorrow. I also made a few minor changes, so here's my take on it. Enjoy! :)
BLUEBERRY BUCKLE:
Makes a 9x13 pan
Preheat oven to 350
Cake Batter:
2 cup white all purpose flour (I used Hodgkins Mill, which is unbleached, but it's so much healthier)
2 teaspoons baking powder
pinch of salt
1 stick unsalted butter, room temperature (I often just microwave mine until it's barely soft, since I tend to make things on the spur of the moment)
1 cup white sugar
2 large eggs
1 teaspoon vanilla
2/3 cup milk (I think it would be delicious if someone tried buttermilk. I didn't think of that until later, though)
3-4 cups of fresh blueberries (I just used a dry pint or so)
Streusel Topping:
2/3 cup flour
2/3 cup brown sugar (her recipe calls for white, but I love brown sugar streusel)
1 teaspoon of ground cinnamon
1 stick of cold butter, cut into pieces
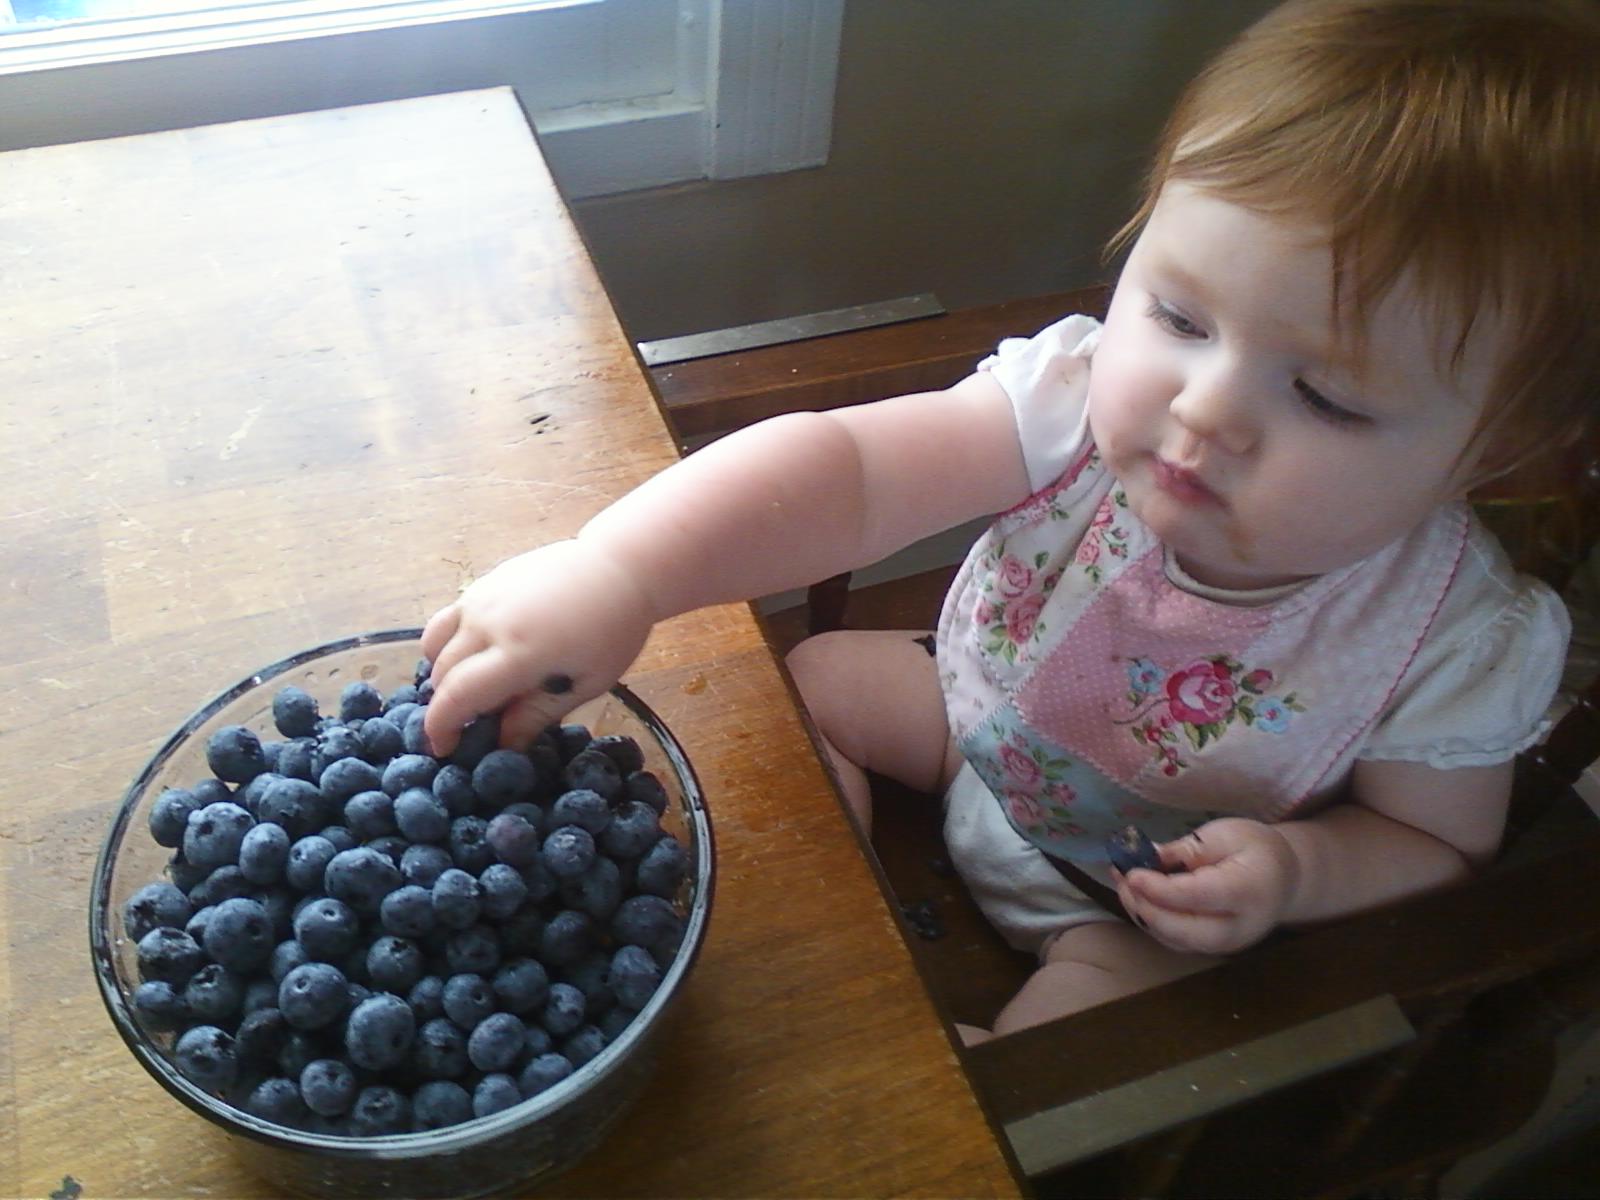
First thing I did was rinse my beautiful, juicy blueberries off. Aren't they lovely?

Then I had my Little Helper assist me in tasting the blueberries. I think she approved. :)


After we tasted inspected the blueberries carefully, we moved on to the recipe. First we mixed the flour, baking powder, and salt together in a separate bowl. I am often tempted to skip this step and dump the dry ingredients right in, but I didn't this time. There's a careful hand mixing process later.

Next we made up the streusel. If you haven't done streusel before, just mix the flour, sugar, and cinnamon together, and then add the pieces of butter. You can used a pastry cutter or something like that. I just usually use my hands. Work the butter in until the mixture is nice and crumbly.


Once that was done we set all of those bowls aside and started work on the wet ingredients.

First, we creamed the butter in our kitchen aid until it was nice and smooth. Then we added the sugar and blended on medium speed until it was light and fluffy (just a minute or two). Then we added the eggs and vanilla one at a time, blending on slow, and mixed until they were incorporated.
At that point, we took the blending bowl off of the mixer and added about half of our flour mixture. I worked it in gently by hand with a spatula, and added about half the milk. I repeated that with the second half of the flour and the milk, mixing gently until just incorporated (we're doing this gently so it stays nice and fluffy). It looked like this when I was done.

Then we greased the pans lightly (in your case, the 9x13 pan), and gently spread the mixture into the pans.

Then we added the blueberries

And finally the streusel.

Molly and I both agreed it looked good enough to eat already!

Finally we popped them into the oven for a good 40-50 minutes, until a fork or toothpick inserted in the middle came out clean. The house smelled absolutely wonderful!
We are very excited to try this out tonight! Would be wonderful warm with some vanilla ice cream, I expect. ;)


